Have you ever loaded a sew file onto your embroidery machine, only to find that the design looks great on paper but doesn’t fit properly on the actual hat? You're not alone.
One of the most common challenges in hat embroidery is making sure your design keeps its intended size and shape when stitched onto a curved surface. Fortunately, there's a simple method to fix this, and it starts with a bit of math.
When a sew line seems like it is too wide or too narrow, try the tips below.
Understanding the Problem
Hats introduce dimensional challenges that flat garments don't. Their curved surfaces and angled panels can stretch or compress your design during the embroidery process. What looks perfect on your run sheet might appear distorted or misaligned once stitched.
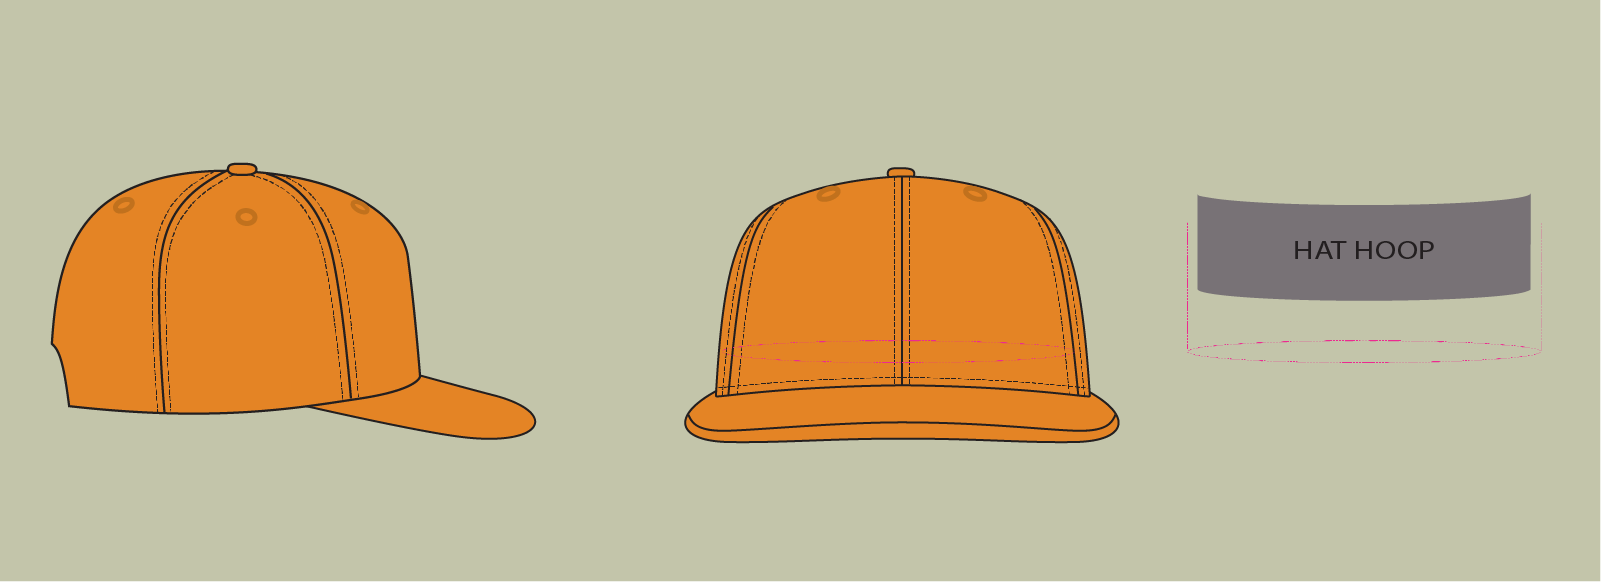
The key factor? Circumference. If your design’s path is longer than the hat hoop’s circumference, the sew line will naturally stretch out.
Step-by-Step Fix: Adjust the Size Using Machine Settings
If your design stitches out wider than intended, here’s how to adjust it directly on your embroidery machine:
1. Measure the Design on the Hat: After a test run, measure the actual width of the stitched design on the hat.
2. Compare with the Run Sheet: Check your original design width. For example, if the run sheet says the design should be 100 mm wide, but it measures 105 mm on the hat, you’ll need to scale it down.
3. Calculate the Correction Factor: Use this formula:
Intended Width ÷ Actual Stitched Width
In this case: 100 ÷ 105 = 0.95
4. Adjust Machine Settings: On your machine’s control panel, find the area for scaling the X (horizontal scale / width) and Y (vertical scale / height) axes.On Wilcom machines, this is typically found under B3 Data Conversion.
Enter the New Scale: Set the X-axis to 95% (or 0.95) to shrink the design width proportionally.
If needed, repeat this calculation to adjust the Y-axis as well.
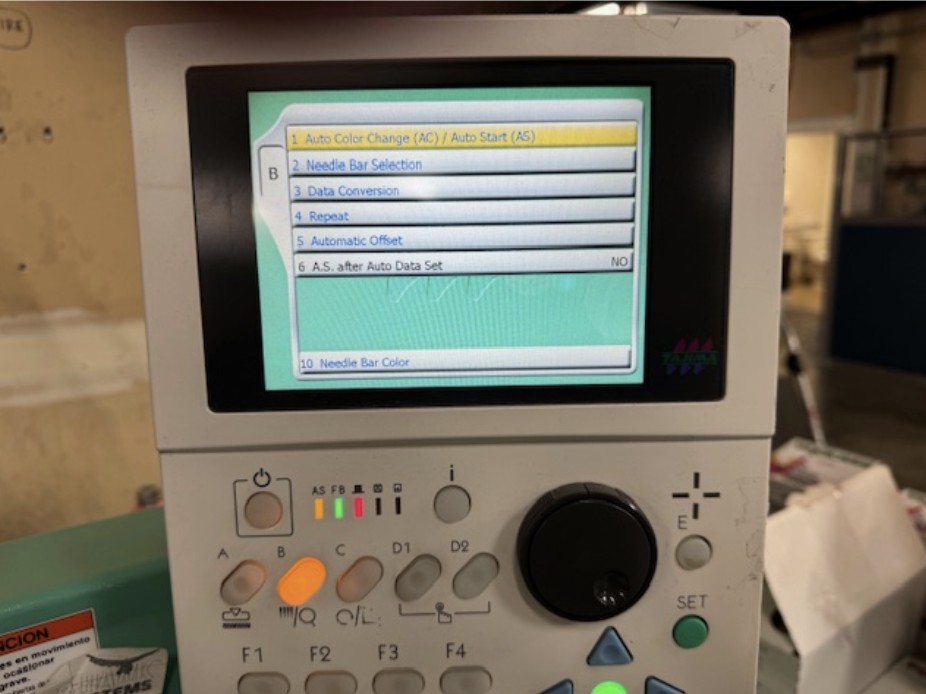
Find the location that allows you to do data conversion. On Wilcom it is B3.
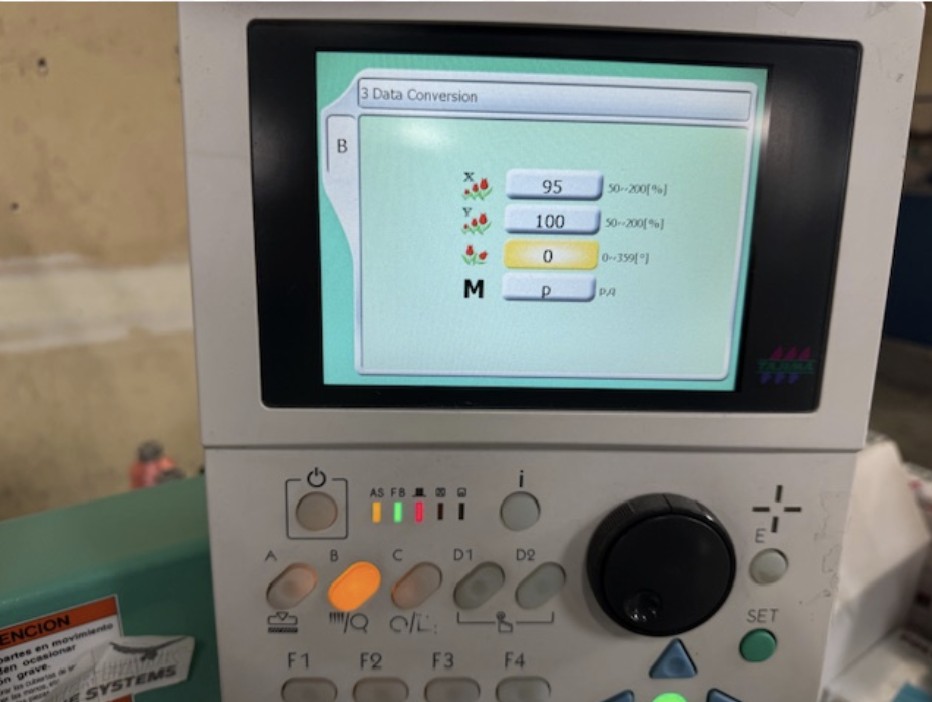
X = horizontal scale (width), Y = vertical scale (height)
Consider Cap Shape and Structure
This fix works best when the distortion is a simple scaling issue, especially width-related. If your design appears warped or skewed (e.g., turning into a trapezoid instead of a rectangle), the cap’s shape may be the culprit.
For example, low-profile caps with angled front panels can naturally distort designs, and scaling alone won’t fix that.
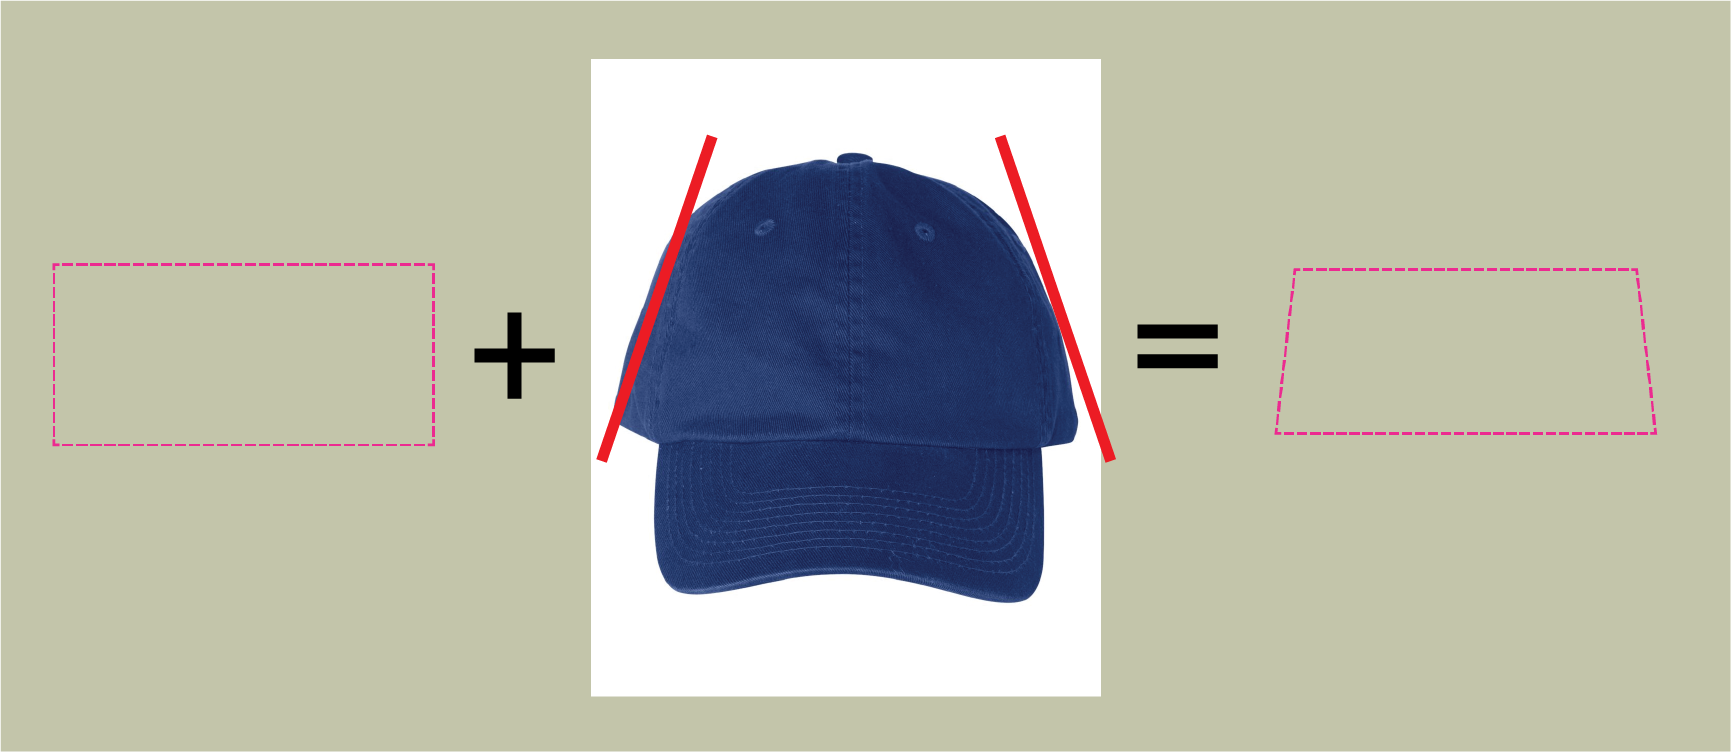
The panel's shape often dictates the shape your sew line will take when stitched.
Similarly, vertical distortion is harder to correct. If your design is too tall for the cap’s face, no amount of scaling will make it fit cleanly. In that case, you likely need to redesign or resize your artwork to better suit the cap’s height.
Final Thoughts
Embroidery on hats is as much art as it is science. While machine adjustments can help resolve sizing issues, understanding your hat's structure and limitations is equally important. With a few measurements and the right scaling technique, you can achieve crisp, professional-looking designs that fit just right!